
While many people struggle to retouch old pictures and make them look like new, some photographers want to create a vintage photo and make their pictures look old. There are two main reasons for choosing this effect. Like any visible texture, the vintage effect can hide color imperfections, focus blur, and an unwanted background. The other reason is aesthetic: the vintage effect adds patina and a temporal dimension that enriches the composition. It can induce romanticism in wedding pictures, create nostalgia in portraits, and accentuate dramatic feelings in pictures of old objects (buildings, still life, cityscapes, etc.).
The vintage look is achieved in post-processing by applying digital color and contrast adjustments. Use a photo editor that supports layers and gives you full control over the editing process. Many photo editors help you make a photo look vintage and provide dedicated filters and effects. All you have to do is apply a filter and tune its intensity. If you want to create a unique effect, you can create the effect manually or modify a predefined effect. Here are the steps to make a photo look vintage:
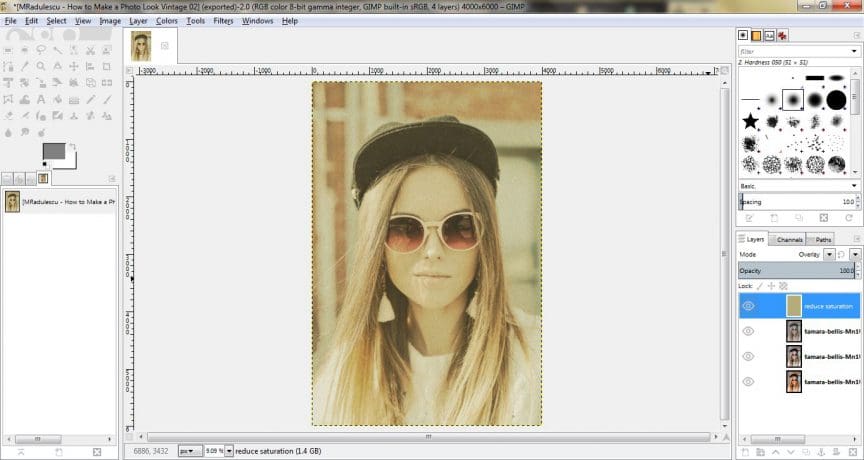
Reduce color saturation
Old pictures don’t have bright colors. They are usually monochrome pictures, slightly colored by time in yellow and orange shades. The first step in recreating a vintage look is reducing color saturation or applying a black and white conversion. You can skip this step if you apply the effect on a picture taken in black and white.
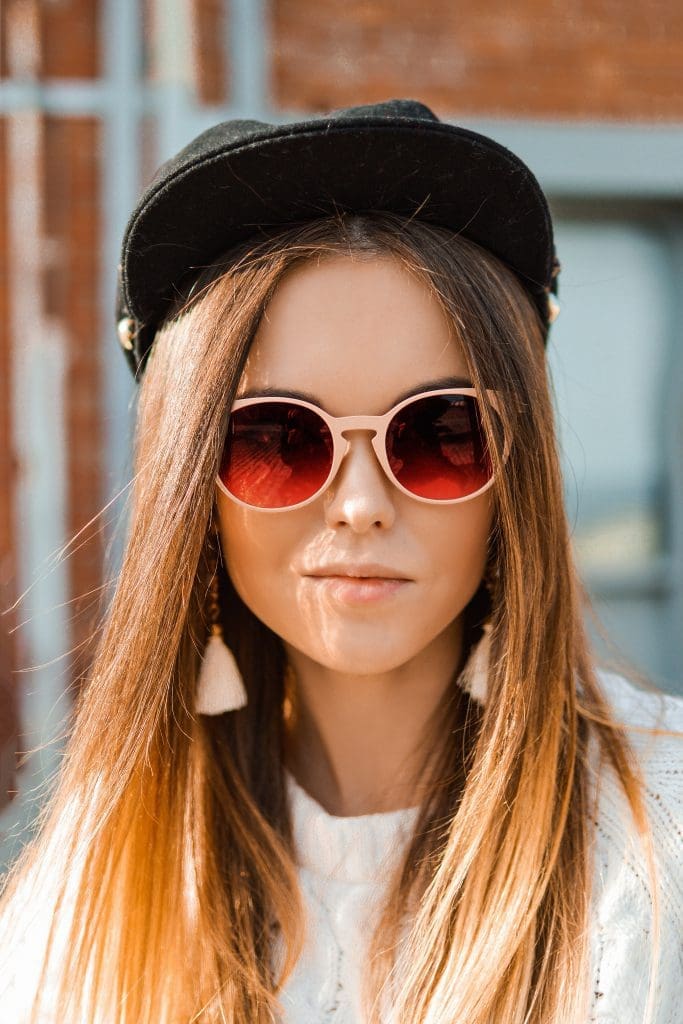
Original photo

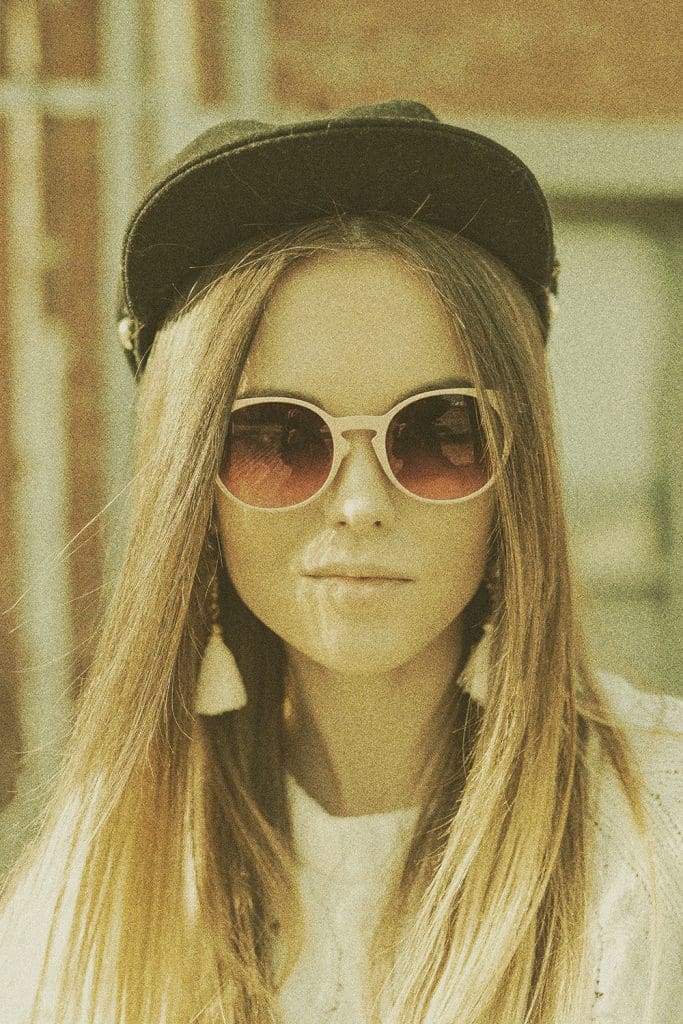
Photo after reducing saturation
Reduce contrast
In time, printed pictures lose contrast and detail. Edges are washed out and pictures become unclear. To recreate this effect, reduce the contrast of your image until it seems taken through a window. Reducing contrast not only alters the image quality but also gives the impression of depth and takes the subject further away from the viewer.
Add noise
You can add noise by using a filter like HSV noise or overlaying a texture. There are plenty of free texture libraries you can choose from. Keep in mind that you want a grain effect that adds patina to your photo. You can also create your own texture but it’s time-consuming and doesn’t pay off if you only use it for one photo.
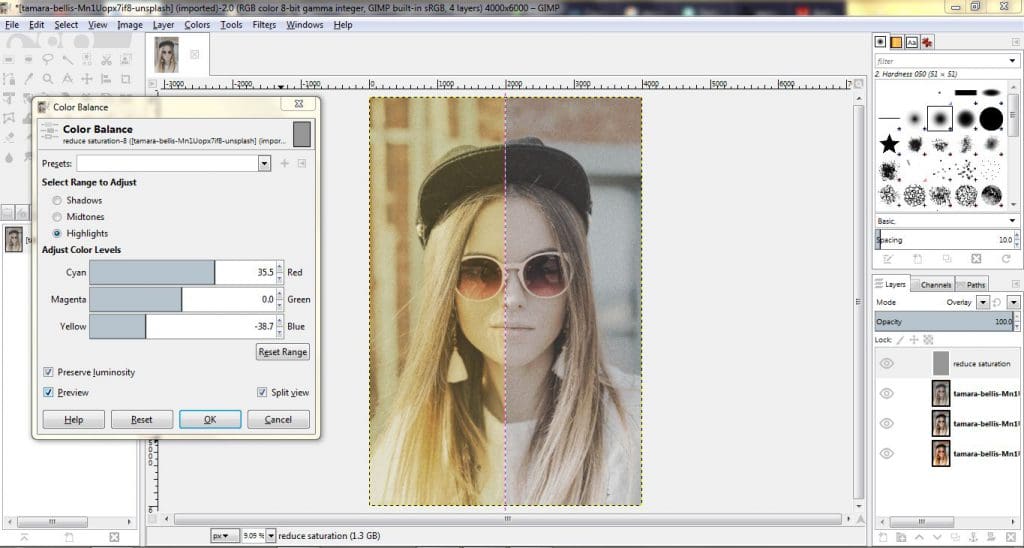
Change the color balance
To make a photo look vintage, you need to change the color balance and add a warm, yellowish shade. The best way to do this is by using the Color Balance tool that most editors provide. It allows you to favor a specific color (yellow in this case) for shadows, mid-tones, and highlights. For portraits, you can increase the red level for a warmer tone that flatters the skin.
Use the vintage look to narrate a story and improve composition. Don’t overdo it because the image will look artificial and you’ll fail to convey your message. Also, don’t mix several editing styles in the same series of photographs. Use special effects only when they’re crucial for the visual narrative you build.
Cover photo by Tamara Bellis on Unsplash, illustrating images edited in GIMP.
For more how-to goodness check these articles out here.